Potato Leek Soup I absolutely love all the fall feels this time of year and…
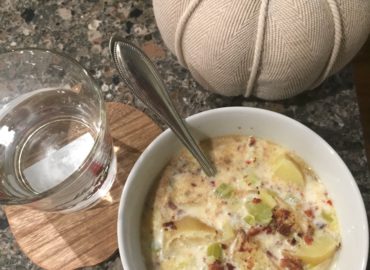
Potato Leek Soup I absolutely love all the fall feels this time of year and…

Tis the Season for feeling sick as we continue into the thick of Winter. As…
Do you ever feel overwhelmed, tired, nervous, frazzled? This was a common feeling that I…
I have to thank blogger Fun Foods on a Budget for her pregnancy because she…
First a rant and then a comment. Rant: I have this bad habit of “liking”…
Banana & Cinnamon Breakfast Flourless Muffins I love Pinterest! Who doesn’t? You can share ideas,…
Wow, can you believe that it is already 2013? Amazing! Time flies by so fast.…
For the crepe batter 3/4 cups all-purpose flour 1/2 tablespoon sugar 1/4 teaspoon baking powder…
Spring is here and summer is approaching. With Spring & Summer comes the best vegetables,…
Who doesn’t like a little bit of salt, a little bit of sweetness, and a…